Last Updated on October 6, 2020 by g6nhu
I’m a happy owner of two Icom ID-5100 radios, one is mounted in the car and I use the other one in the shack on low power for working the local repeaters. It doesn’t get much use but I’m monitoring GB3CL and GB7TE most of the time.
About the only thing which I don’t like about this radio is the cooling fan. When it kicks in, it sounds like a jet aircraft taking off. I checked and it’s a Delta fan and they have a reputation for being loud. You can see the exact specifications of the factory fan here and at 9,000rpm, it’s no surprise it’s noisy. In the car that’s not a problem but it’s a big issue in the shack.
I did some searching and discovered that Andy, MW0MWZ had found a suitable replacement fan and written about it on his blog. As this was written well over a year ago I contacted Andy to see if he was still happy with this replacement fan and he replied that he was but with one caveat. He only uses the radio at 5W output and it’s perfectly good for that. He does question whether the fan will be man enough for the job if it’s running 50W for long chats. I don’t do that, mine never goes above the low power setting so I decided to do the same mod.
If you want to see the video comparing the audio levels before and after this mod, either scroll down to the bottom of this post or click here to see it on YouTube.
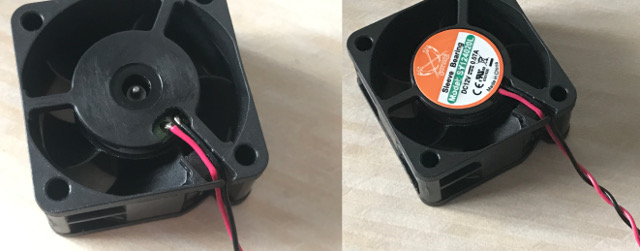
I ordered the suggested fan, a Scythe Mini Kaze Ultra SY124020L from Amazon and it dutifully arrived two days later in a nice package.
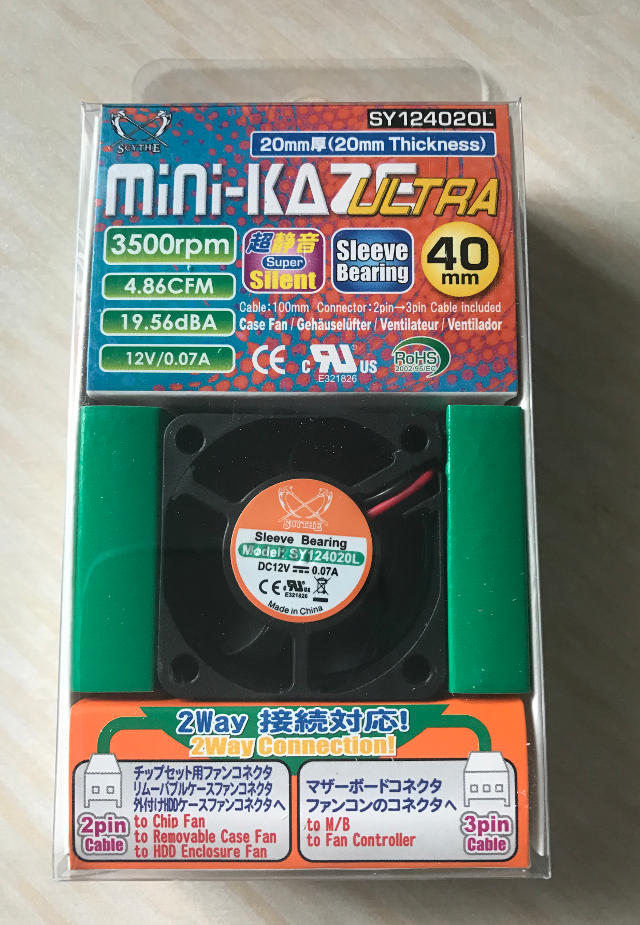
Scythe Mini Kaze Ultra SY124020L
First thing to do was remove these four screws.
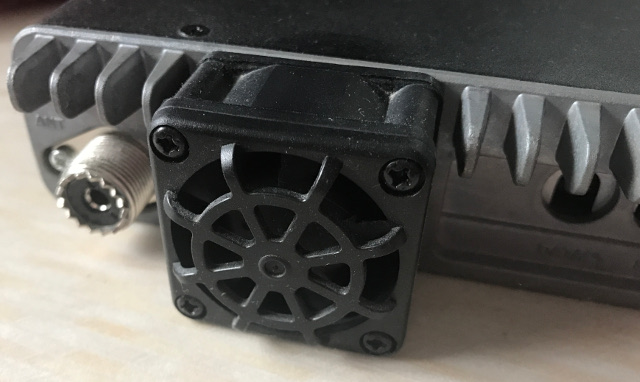
Back of the ID-5100 showing the fan about to be removed
The screws were very tight to remove, I suspect there was some kind of screw-lock involved to stop them from turning. Having a decent screwdriver helps here, be careful not to burr the screw heads.
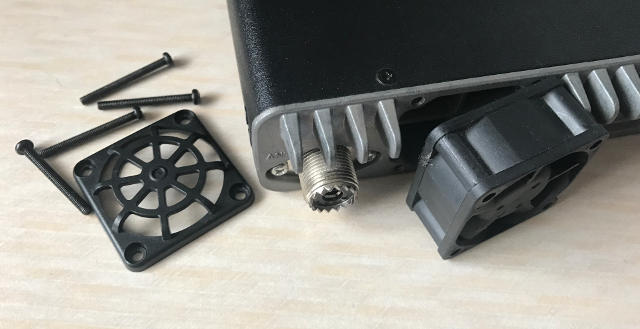
ID-5100 with the fan cover off and the fan loose
It was very obvious that the length of the wire on the fan wasn’t going to be enough for me to easily get in there with a soldering iron to fit the new fan.
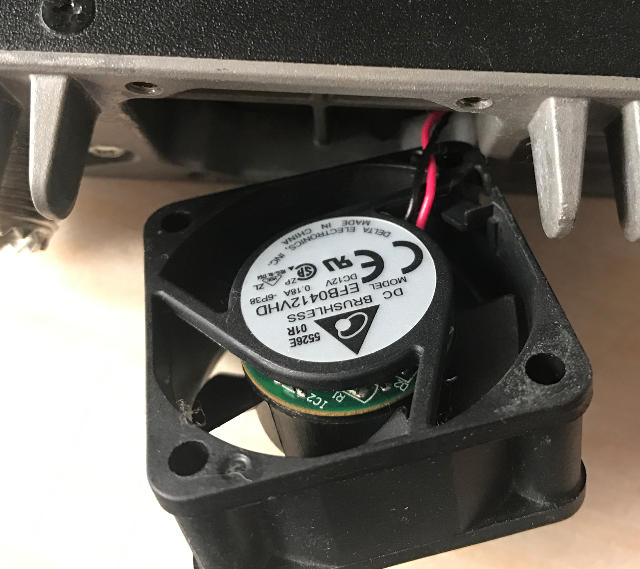
Not much wire to work with
I hoped that the wire going to the fan would be actually plugged into the board inside the wireless so I carefully removed all the screws on the bottom cover of the Icom ID-5100 to see. Oh yes, life is good!
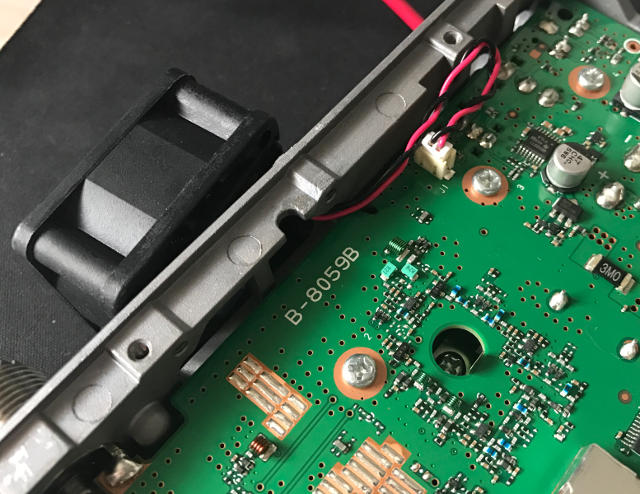
Inside of the ID-5100 showing the fan connection
I did hope that the connector on the wire with the replacement fan would be the same but it’s much larger so I would have to get the soldering iron warmed up. I was expecting to do this anyway so it wasn’t a problem.
It was a simple matter to unsolder the cable from the original fan, remove the label from the new fan, unsolder the cable, solder the cable from the factory fan onto the now exposed connections and stick the label back on. It probably took longer to type that sentence than it did to actually do it.
New fan with power cable attached
With that all done I just had to plug it in, mount the fan back in place and check it all worked. I did this before I screwed the fan back on and replaced the bottom cover, being careful not to catch the power cable on the case frame or against the fan blades.
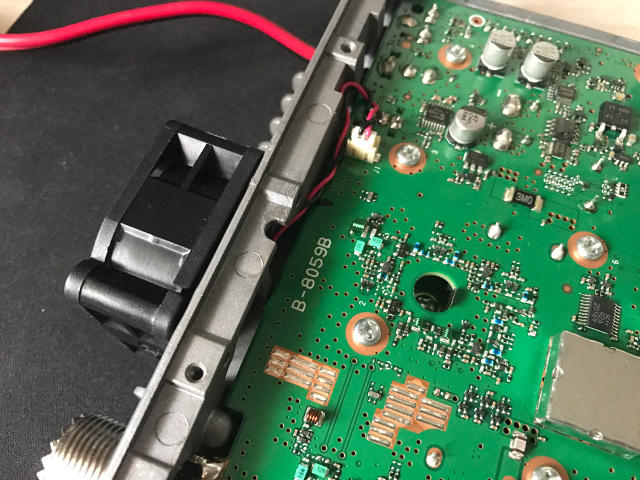
Inside of the Icom ID-5100 showing the new fan in place
With the bottom cover replaced and the fan screwed securely back in place.
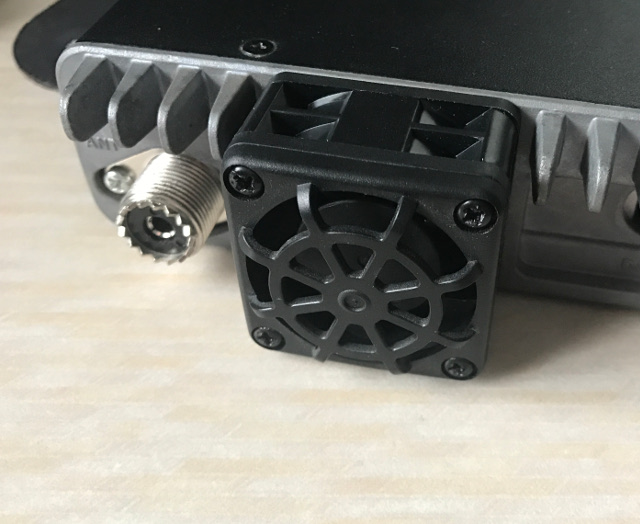
Icom ID-5100 all back together with the replacement fan fitted
And onto the full test – What better way to demonstrate the difference between the old and the new fan than to produce a video and that’s what I’ve done. You can see it directly here or use this link to watch it on YouTube in full HD quality.
Checking the specifications of the two fans, it’s really obvious why there’s such a difference in noise between the two. The Delta is rated at 9,000 RPM compared with 3,500 RPM for the replacement and the measured sound level of the Delta is 36dBA compared to 19.5dBA for the replacement. Of course the airflow on the new fan is significantly lower on the new fan at 4.86CFM as opposed to 10.1CFM for the Delta.
I cannot say enough that you do this at your own risk. If you regularly use the radio on high power, I can’t recommend this modification as you’ll probably fry your radio. If you only use it on low power though, I think it’s worthwhile.
I take no responsibility for any damage caused to your radio if you do this modification. In other words, if you do it and your wireless catches fire due to overheating, don’t blame me.
Put a 80×80 on there with a converter for home base use.
Why not just set the standard fan to low speed in the menu ?
Because even at the “low” speed, it still sounds like a jet engine taking off.
For high Power, FAN option set fast. I was with a fan (Noctua NF-A4x20 FLX)
which is really the best choice.
Acoustical Noise = 14.9 dB (A)
Rotational Speed (+/- 10%) = 5000 RPM
Airflow 9.4 m³ / h = 5.5 CFM
Fan (Noctua) also used for the Kenwood TS-2000 by a friend
I am also considering this and due to being into quiet PCs was aware of Noctua. However when comparing the spec of the stock fan to the Noctua it was obvious that the std fan flowed more air.
Those that have done this what power (watts) are you using?
Have you experience any over heating?
Hi Peter,
I’ve had no problems with mine overheating but because it’s indoors on a large external aerial, I only ever run it on low power, occasionally switching to medium if I’m working someone simplex and they’re weak. Personally I wouldn’t be too happy operating on high power with the low flow fan.
73 Keith.
It’s already been six months and I often roll to Hi Power and no I am not seeing any difference in overheating compared with the original there is just 3 CFM difference. Canadian amateur radio operator Ve and VA have made the change on ID5100 – IC7300 – Kenwood TS2000 and myself on IC2730 and all his happy Fan Noctua. The ears finally quiet 73 !!! VA2RJF
Thanks, that’s very good to know. I don’t use my 5100 on high power at all but I may well grab one of those, just in case I ever need to. The specifications look impressive as it has higher airflow than the fan I’ve already used and it appears to be quieter.
Made the change, quite an improvement.
The 4 mounting screws were tight but loosened with a little effort
I can hardly hear this new fan run
Thanks, Ron W6ZQ
The fan makes noise because of the pitch of the fan blade, it is moving much more air. So the quieter fan of the same size, is now moving much less air. Is that a good idea? The head is detached fro the radio, so the radio does not have to be right in front of you, it can be under a seat, or under a bench and the display makes no noise. This is just my opinion on the noise the fan makes. The first 5100 I had failed twice, no, not the radio, but the display. The display does not like the heat of a car. I live in a hot state, so the heat killed the digitizer chip, and display twice. The first time under warranty, the second time is cost me over $200.00 to get fixed by icom. I no longer leave the display in the car, i remove it when I get out.